Placing a picture on a business card is a great way to add a personal touch to your business. Having a headshot of an employee can boost the effectiveness of a business card with a nice finish or stock. The goal of any business card is to leave an impression and adding your employee to it will double down on that.
However, when setting up your files with a picture, you’ll want to keep a few things in mind:
Trimming Shift
There can be a shift of up to 1/16” during trimming which could result in uneven margins when cards are trimmed. This can be noticeable with files that have borders or elements tight with the safe area line on our templates. Trimming Shift can also affect a picture or headshot that extends to or gets close to the edge.
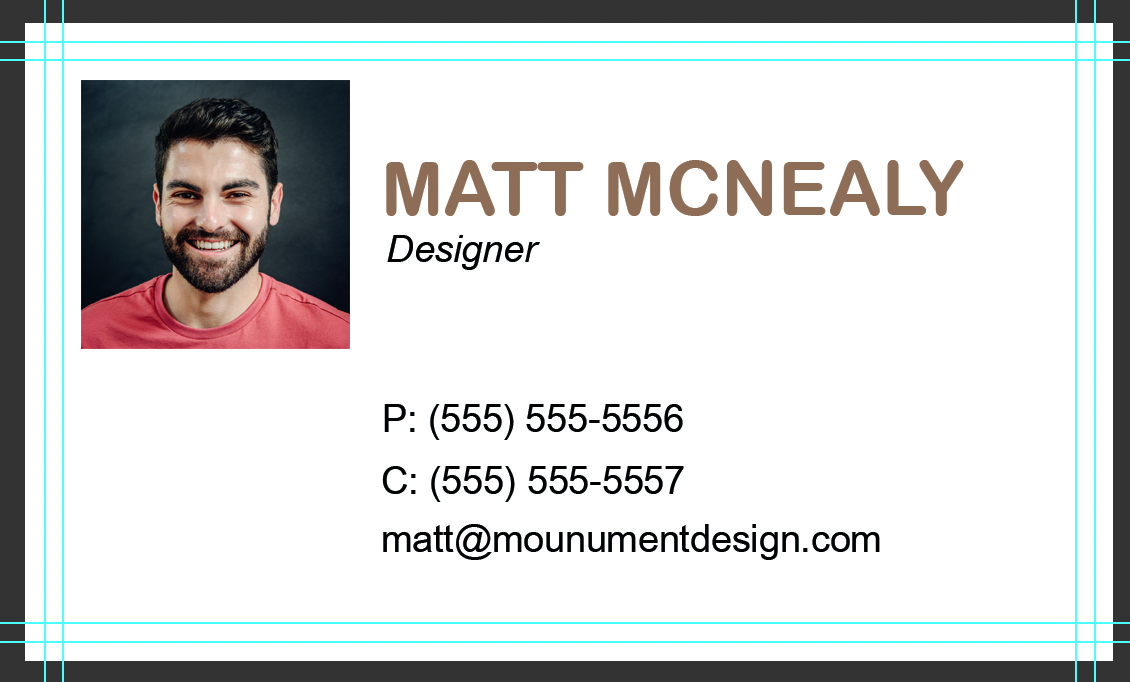
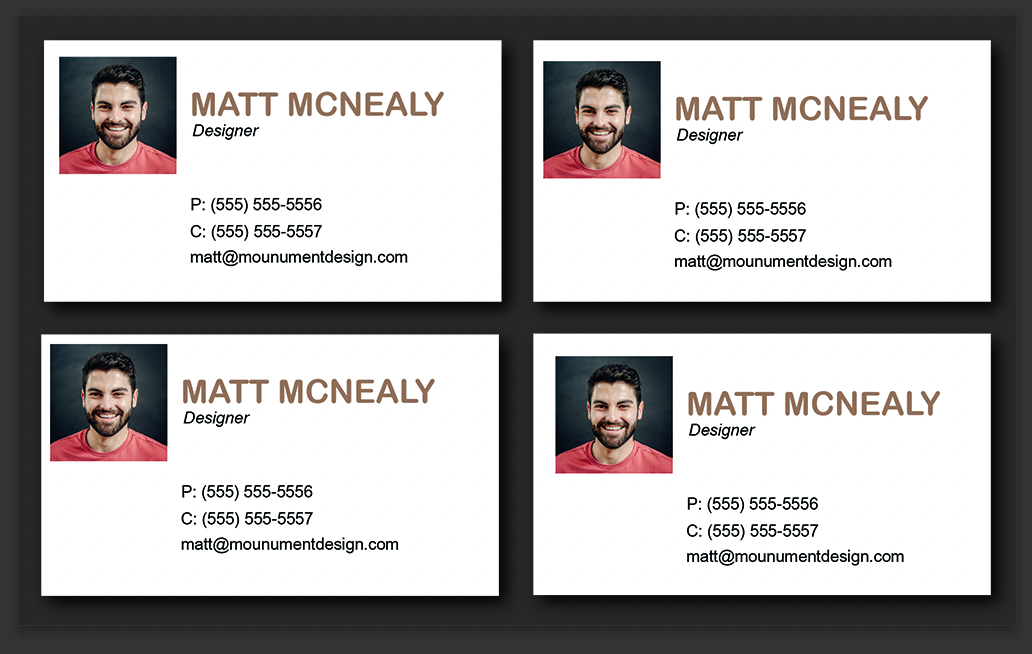
Here is a print file with a photo that extends to the edge but there’s a bit too much outside of the safe area:

Template Guides: The safe area line is the inner blue line in this example.
Here is a mock-up of how that can look with a shift during trimming. The first picture in the mock-up is perfect trimming which we couldn’t guarantee.
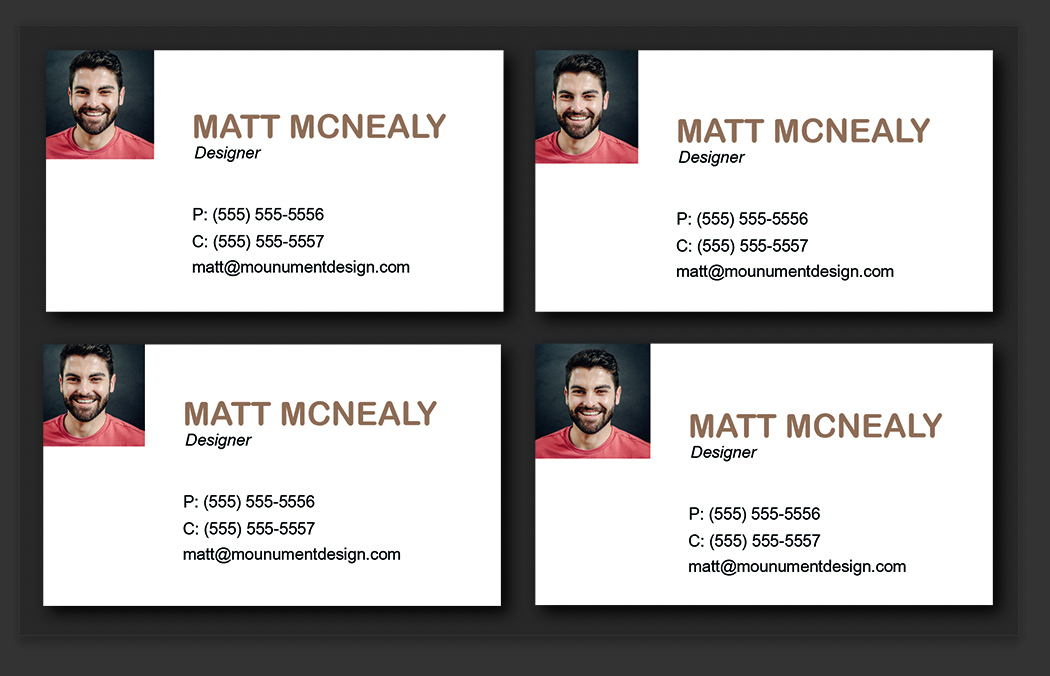
This isn’t the ideal outcome and can lead to someone getting an untended haircut. For the best outcome, you’ll want to bring the headshot into the safe area on our template, about 1/16” from the trim line is our recommendation.
This would help with the trimming shift and give the headshot some room if an extreme shift occurs. Bringing the headshot in more would also minimize the chances of trimming shifts being noticeable.
Here is an example of how that could look:
Color & White Balance
Pictures taken with cameras or phones will be in RGB color mode. This is fine for printing in most cases but there is another thing to remember about taking these pictures. White balance is a camera setting that determines the white in your photo; this can also affect everything else depending on your lighting conditions. With that said, color can shift up to 7% during production so if your photo’s white balance skews cold or warm, that shift could affect the entirety of the picture when printed. This could end up making your card look unprofessional.
This example shows a picture with good white-balance but the other two skew cool and warm.

A cooler white balance means that the skin tones in the photo can tint to blue/purple. A warmer picture can make skin tones look red/orange when printed. Cameras can adjust white-balance automatically but sometimes it’s not perfect if the lighting in the room isn’t ideal. When taking a headshot, ensure your lighting conditions are good and the camera should take care of the rest.
Tips for Taking Headshots
You’ll want lights on your subject but too much or too little can result in the color going in the wrong direction. Try only lighting the person so there is a separation between the subject and the background. This can be done with a simple desk lamp or flashlight from the phone. Another thing you could try is having them sit by the window. Sitting too close to a window with a lot of sun coming in can be harsh so diffusing that light will yield the best results. Try hanging a white sheet over the light source to diffuse the light from the window. This will let the light shine through and won’t be as intense.
Alternatively, if you have something lying around that can reflect light, like the sun shields you’d place in your car, you can use that to bounce the light onto your subject!
—-
We hope that this article is helpful when creating your next business card design! Keeping these things in mind may clear up any confusion when submitting your files to us.
Our Processing team will check all files before production and advise on any issues or concerns with your files. If you need further assistance, please contact us by emailing info@primoprint.com, calling us at (888) 822-5815, or opening a chat with us on our website. Our Design team can also provide a quote to create print-ready files or edit your existing ones.