You’ve probably seen 8-bit and 16-bit as available image modes in Photoshop, but do you know the differences between them? There is a time and place for each, and in this article, I’ll discuss the advantages and disadvantages of each image mode.
8 Bit vs 16 Bit
8-bit = 256 Shade Variations of Each Color
When you calculate out the equation 2 x 2 x 2 x 2 x 2 x 2 x 2 x 2 (2 to the exponent of 8 or 8-bit) you get 256. So saving an image as an 8-bit CMYK file, gives you 256 shades of cyan, 256 shades of magenta, 256 shades of yellow, and 256 shades of black, for a total of 4.29 billion plus possible color shades.

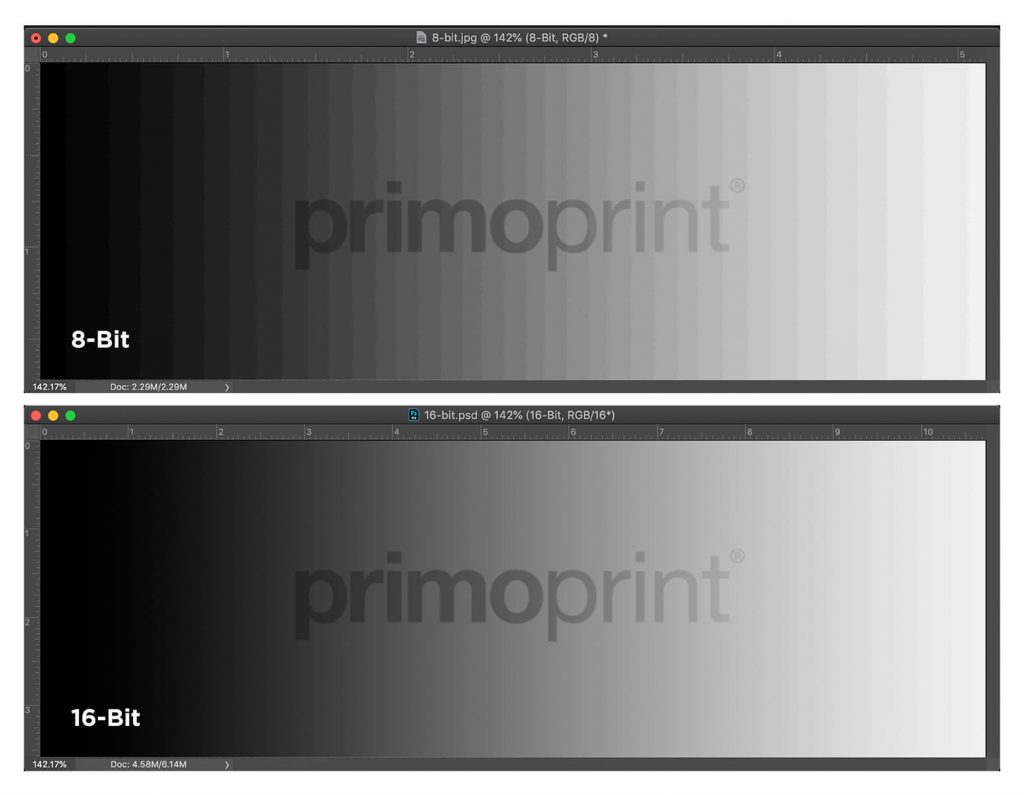
Slight banding can occur when attempting to print an 8-bit image with a gradient. But for the most part, there should be very little to no banding in your printed images that do not include gradients.
JPEG = 8-Bit Image
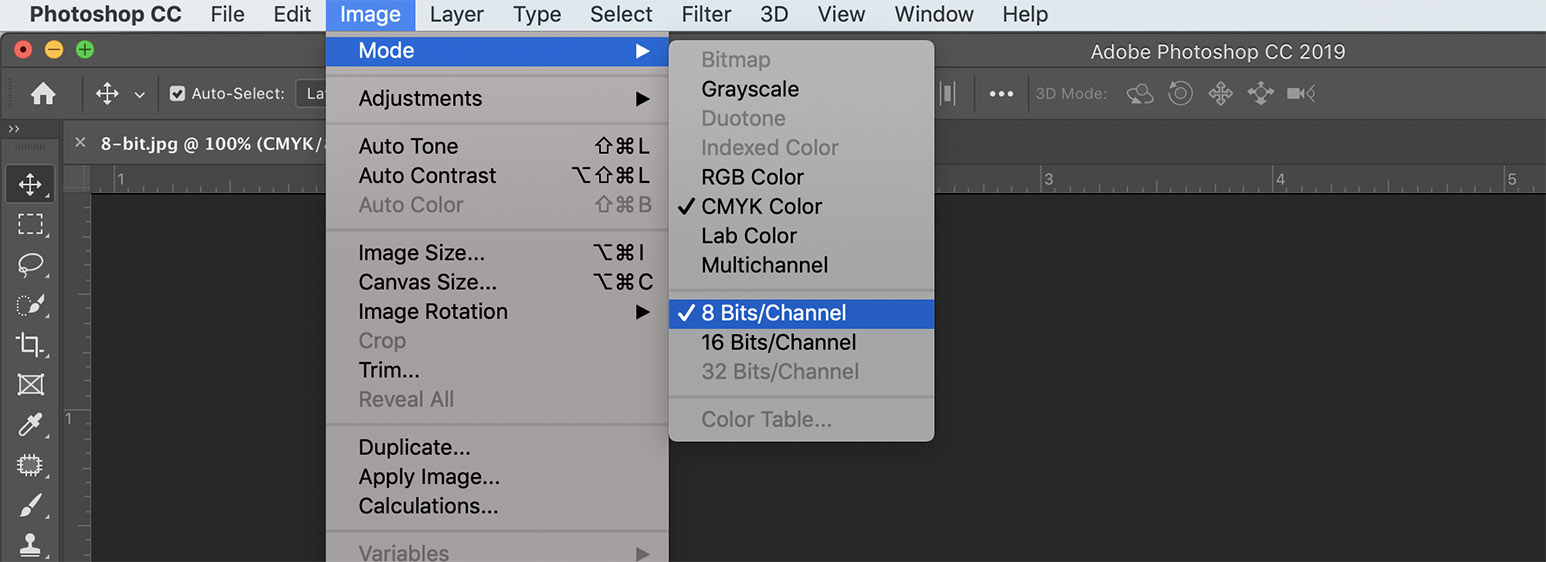
One of the easiest ways to know if you are working with an 8-bit image is to check the image’s file format. If the image is a JPEG (with the extension “.jpg”), it will always be an 8-bit image.
One of the advantages of working with 8-bit images is they are typically smaller in file size. Smaller file size equals faster workflow which is typically crucial when it comes to both print and digital design.
So Why is 16-Bit Even an Option?
With so many tonal variations already available to us with 8-bit images, you may wonder why we even need a 16-bit image option.
16-bit images have their most significant value when it comes to editing. Shooting RAW 16-bit photos gives you an exponential amount of editing flexibility that 8 bit JPEG images just don’t offer. JPEG images will get “muddy” much faster during editing than 16-bit images.
So it’s recommended to shoot and edit your photos in RAW 16-bit mode if your camera has the capability and your workflow isn’t slowed down too much by the much larger file sizes of RAW images.

CMYK Printing = 8-Bit Image Mode Only
When it comes to printing, we require all images to be submitted as 8-bit. Unfortunately, the vast tonal range of a 16-bit image is not possible to recreate within our CMYK commercial printing process. Saving your images in 8-bit mode will help ensure the accuracy of your print order.
So what do you do if you want to keep the editing capabilities of 16-bit images, but you also need to include the photos in your print project? Simply shoot and edit in 16-bit mode and then save in 8-bit mode once you have completed the editing process.

What’s your viewpoint on 8 bit and 16 bit image modes? Let us know in the comments below, and if you have any questions, our experienced team is here to help!


