Canva is a great online alternative to programs like Adobe Photoshop and Illustrator. Some print customers choose to use this online platform when creating their print-ready files. But when doing so, it’s essential to make sure your files are set up correctly for the best print outcome.
When designing in Canva for print, some limitations are essential to keep in mind. One of those limitations is that, like other online programs, Canva can only save RGB files. Since we print with ink (CMYK), our system will convert your colors to the closest CMYK build when your files are uploaded to our site. The second limitation is that you must build your bleed into your document from the start.
To help you through this process, we have provided a step-by-step guide to designing a successful printed piece using Canva.
Setting Up Your Canvas
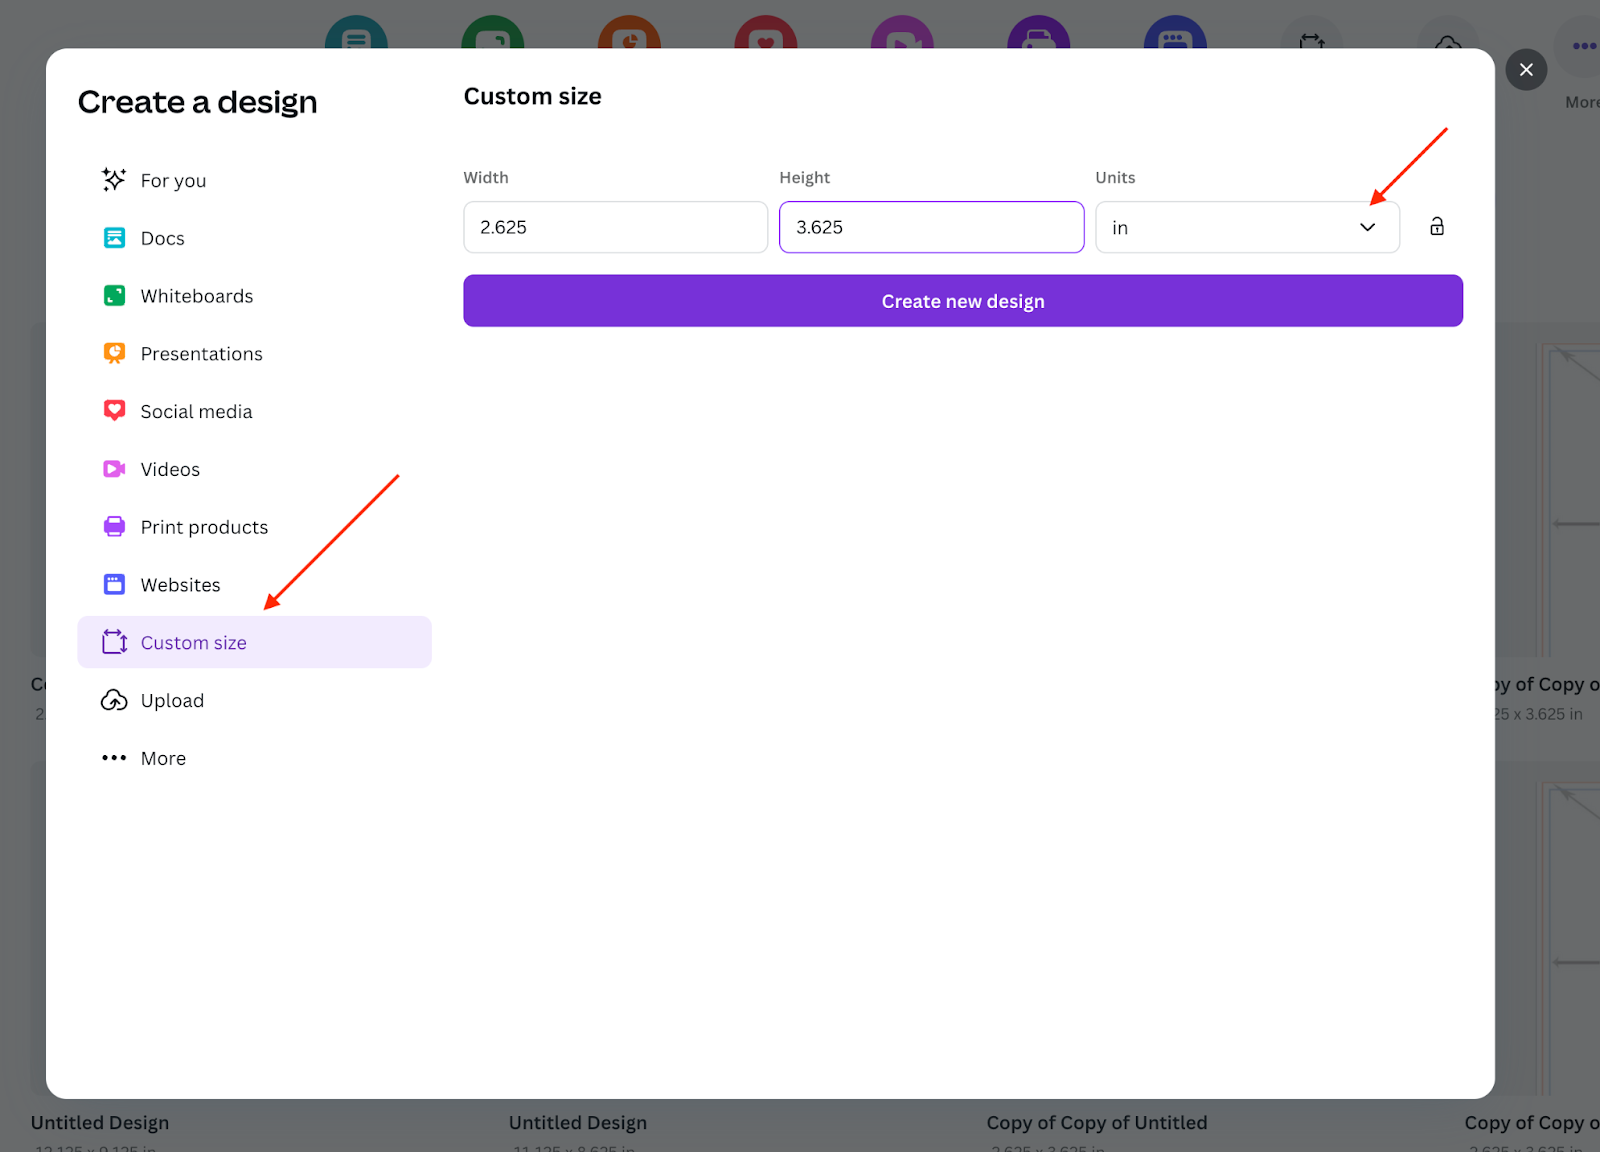
The most important part of this process will be starting with the correct size in Canva. The paid version of Canva will let you resize files, but the free version will not. You’ll want to create a new document and select ‘Custom Size.’ This will look slightly different depending on whether you are working on the desktop version or the web version. Both versions will allow you to select this option, however.

Click on ‘Create’ to open the size options
Click on ‘Custom Size’ in the dropdown menu

From here, you can input your size. Ensure that ‘inches’ is selected, and then enter the product size you are ordering, including the bleed area. Most of our products require 0.125” to be added to the width and height to account for Bleed. In this example, we are ordering a 2.5” x 3.5” Trading Card so we should input 2.625” x 3.625”.
Using Our Templates with Canva
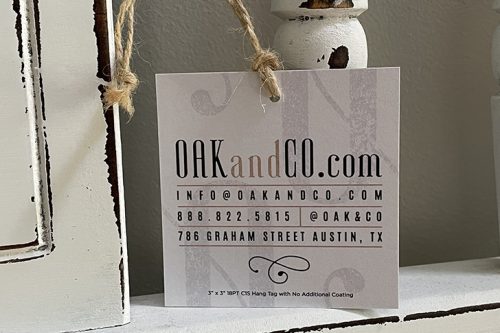
Now that we have a document with the correct size, we can pull in our Trading Card template. We always recommend using templates when creating files, especially when borders are involved. You can grab the JPG version of the trading card template and place it into Canva.
Move the template to the top left of the document, and then drag the bottom right corner of the template to the edge until it snaps into place.
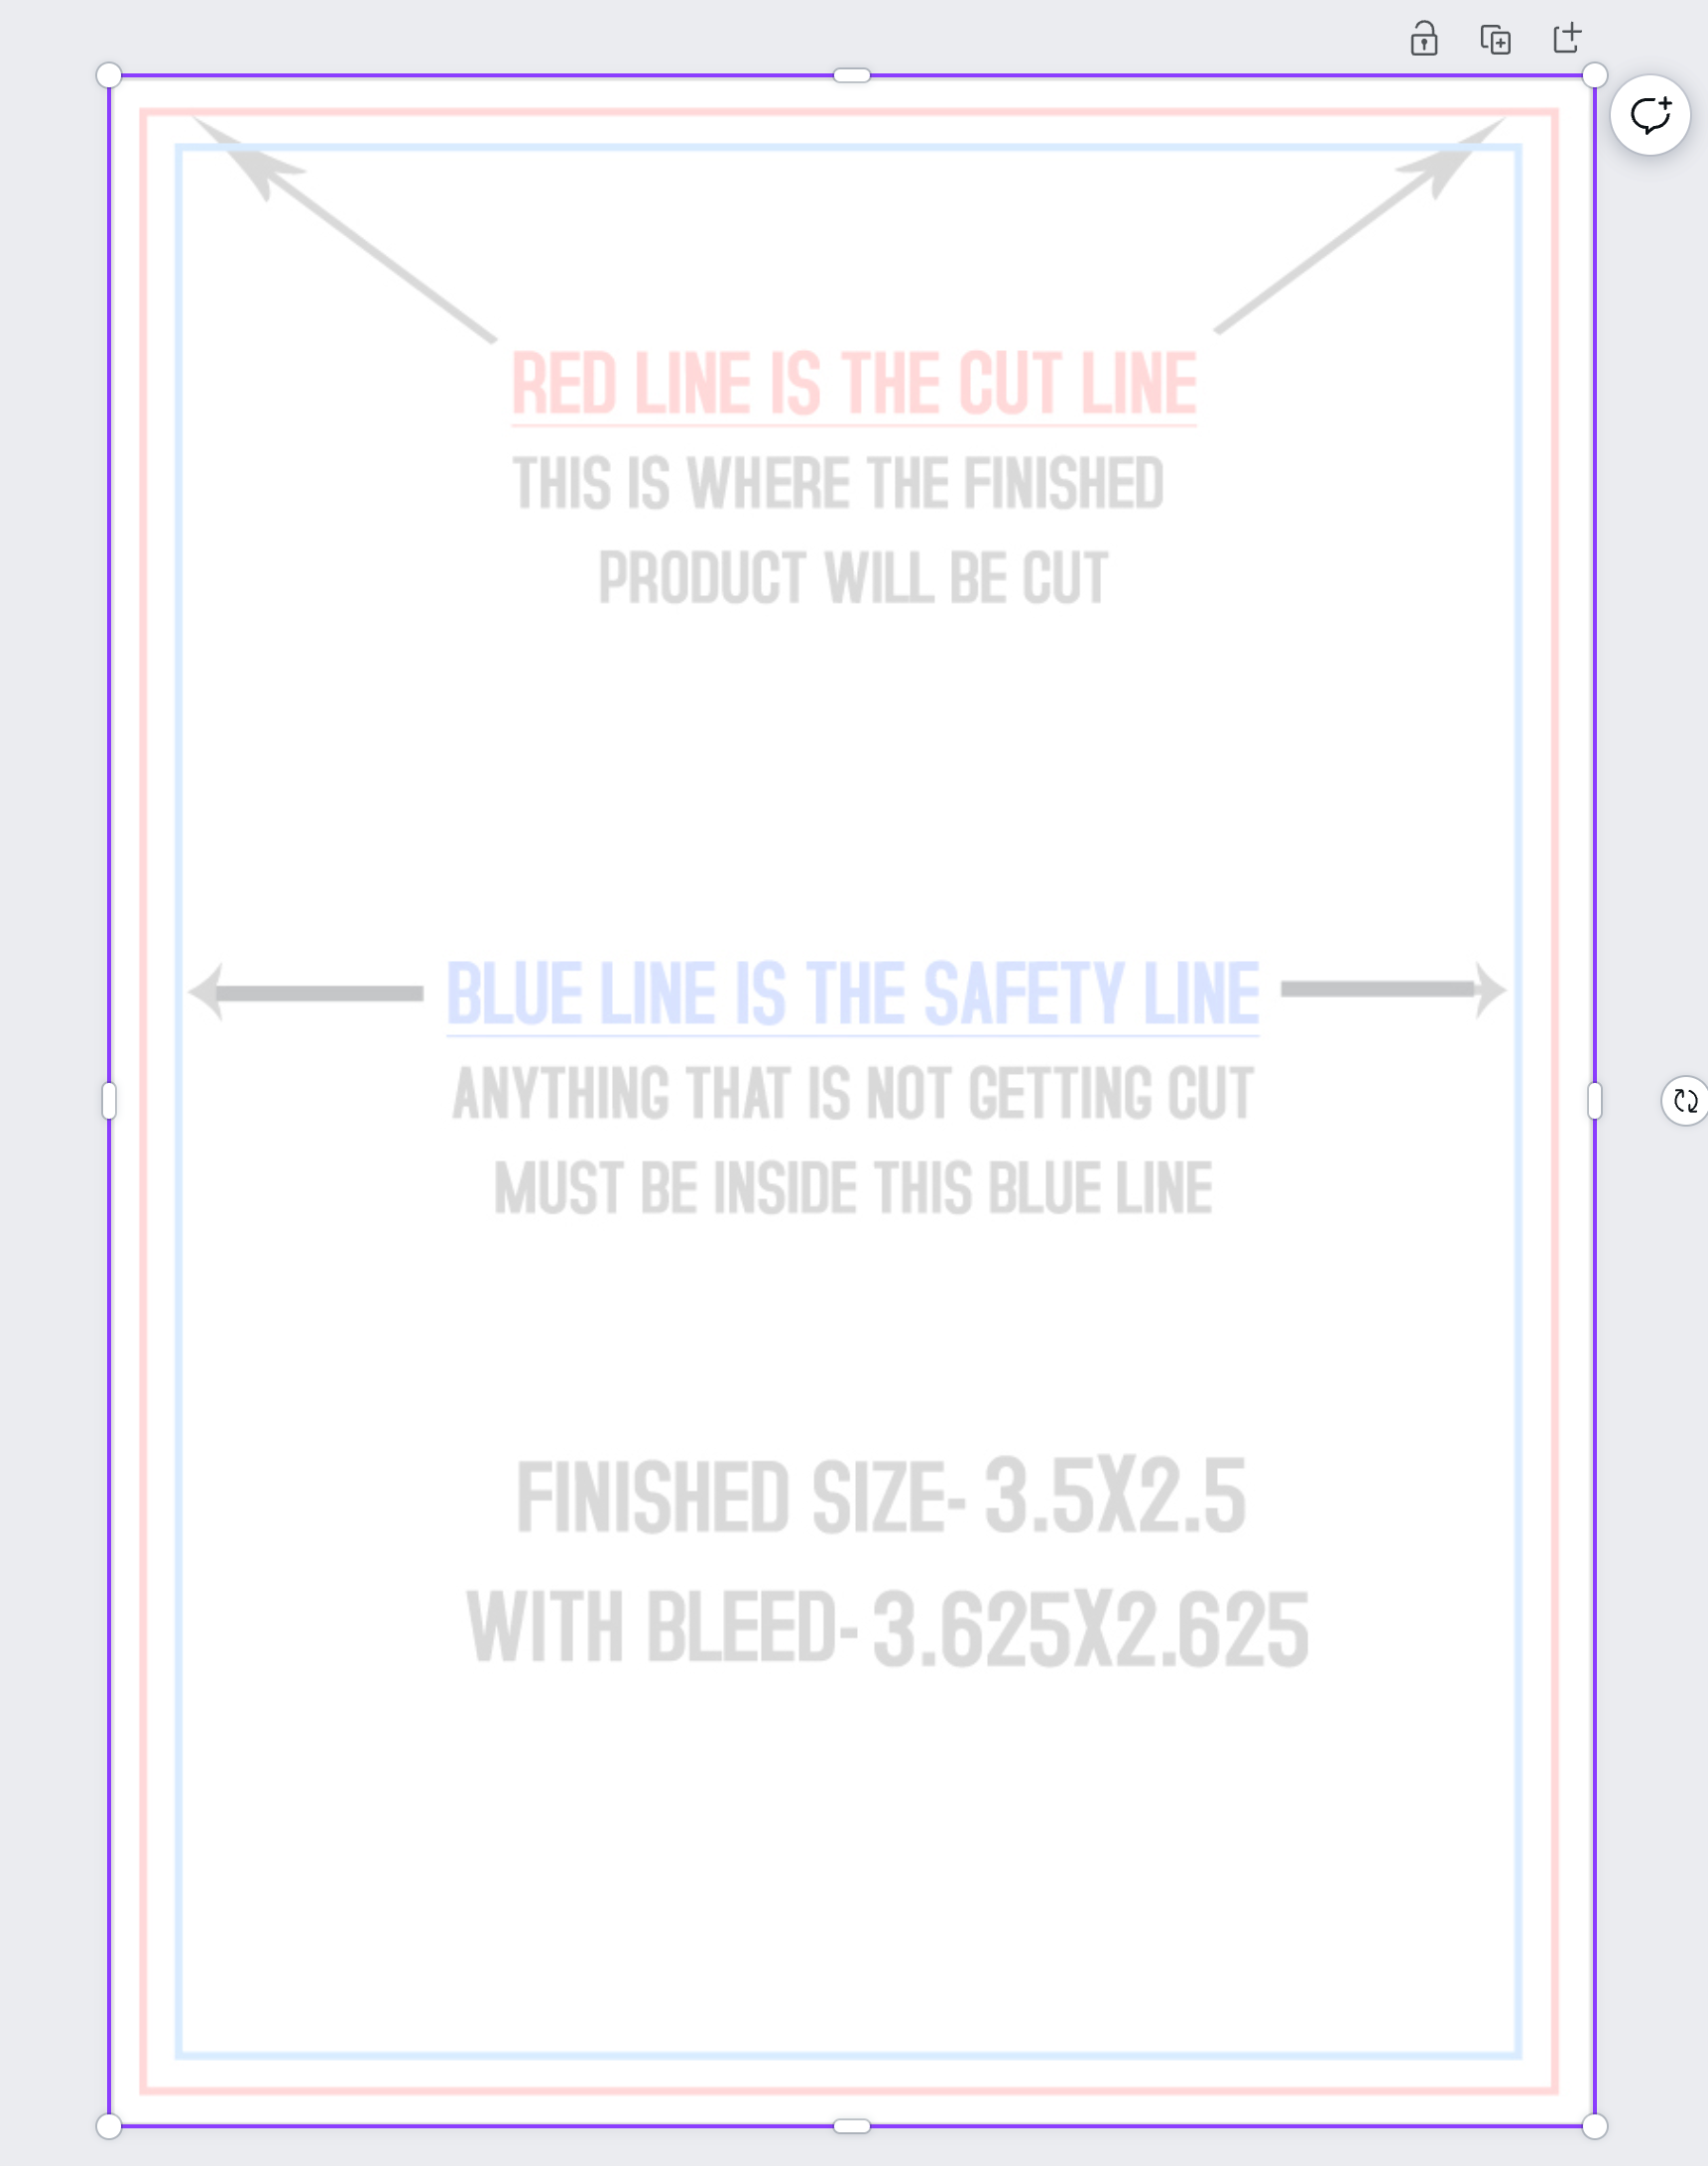
After that, you can draw ruler guides to add the safe, trim, and bleed lines on your document.
You can do this by going to File > Settings > Show rulers and guides.
From here, you can draw the guides by clicking on the rulers to match them with the lines on our template. You can then remove the template, and the guides will remain.
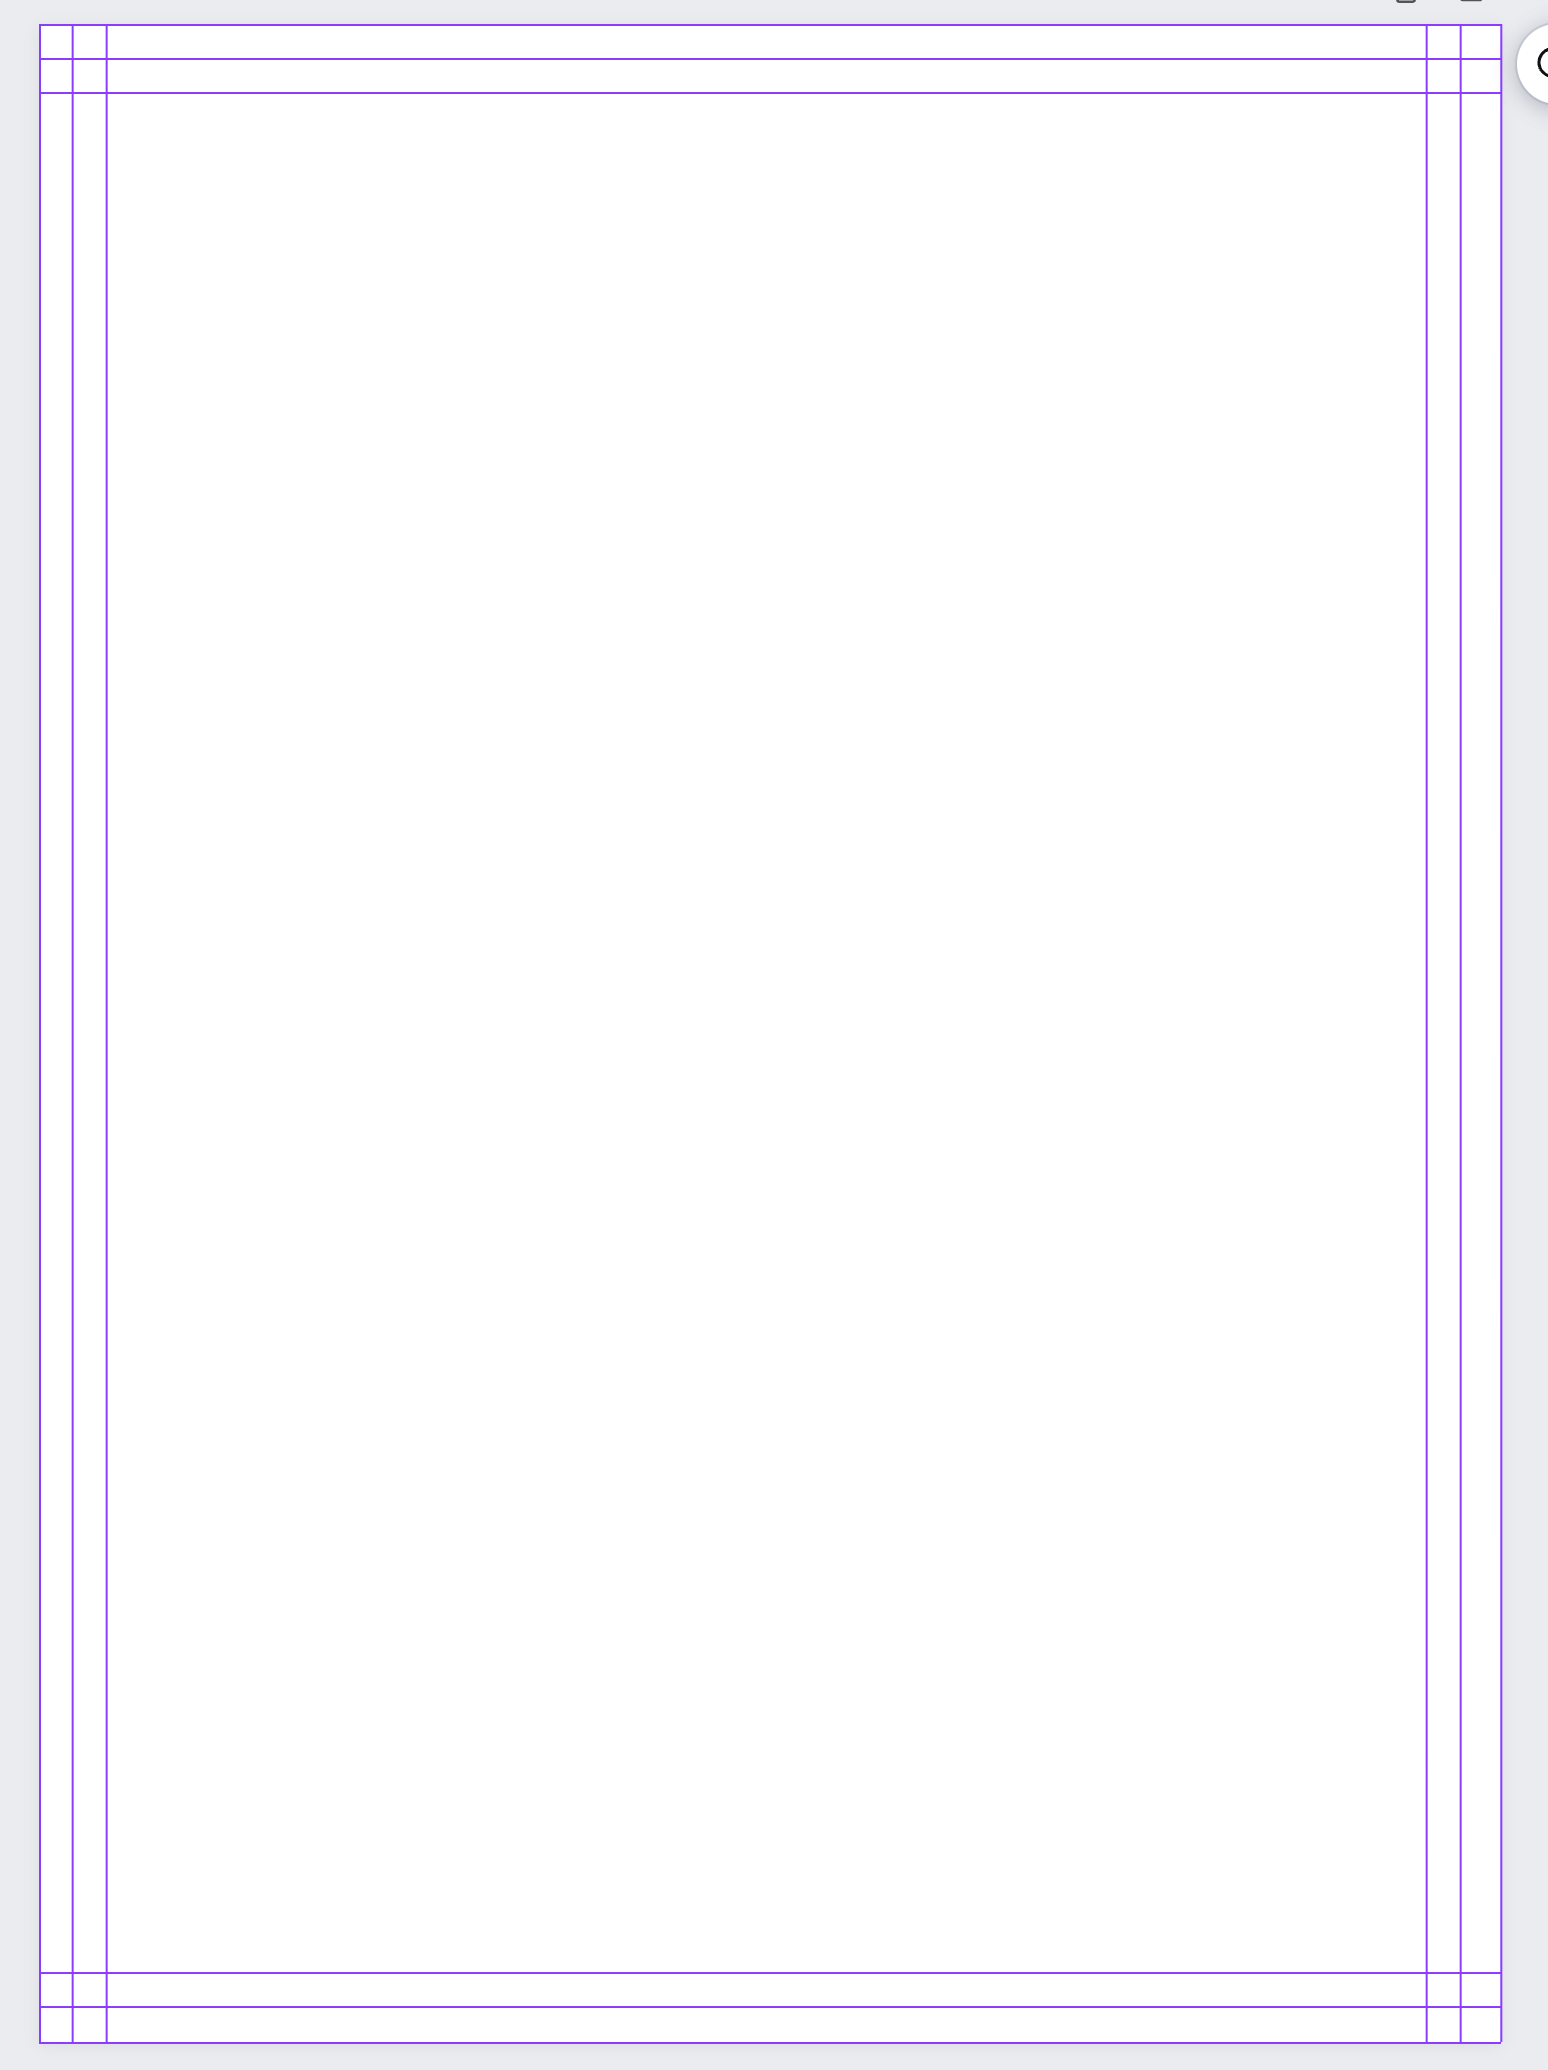
*Keep in mind that the guides will not be embedded into your file and are only there to help you design your file.*
Now you can start designing! Any colors that are added will be in RGB color mode, so they will appear brighter. Colors will be converted to CMYK when they are sent to production. CMYK inks tend to be darker than bright web colors. Blue builds, in particular, can be tricky with online programs. We recommend reviewing the following article for more information about what we call: Blurple.
How to Download Your Files
Once your Design is complete, it’s time to download it! Click on ‘Share’ in the top right, and a drop-down will appear. Then you can click on ‘Download,’ and you will see some options in the ‘File type’ menu. You’ll want to select ‘Print PDF’ to download a file for printing purposes. If your design includes fonts or colors from Canva Pro or contains placed images (such as pictures), you can check the ‘Flatten PDF’ box. This will flatten your artwork and preserve the text and artwork, but this will also rasterize most of your artwork (convert to pixels). We would only suggest saving this way for print files (front, back) and not mask files.

To retain the Vector file (shapes), you can download it from this point without checking any boxes. Retaining a Vector file is important if you are ordering something that requires a mask file. This is also the best option for a sharper file.
Voila!
You have now created and downloaded a print-ready file from Canva. We can provide a template for you if needed. And there are a few products that may require an extra step (like mailing products), so please let us know if we can be of further assistance. Once you’ve placed your order, our talented File Processors will review each of your files. If they see any issues with your Canva-created files, our team will reach out before your order is sent to print.
Do you have questions or concerns about your Canva file? We’re here to help! Click here to contact us, or click the bubble in the bottom right corner to start a chat.